Your name in lights! (Part 7)


Last time in Your name in lights! (Part 6) , we got a fancy scrolltext with brightness effects working, but were underwhelmed by its lack-lustre performance. Angry and tearful, we turned our red-rimmed eyes to the heavens and swore a dreadful oath to find a better way.
That quest starts here! We are going to learn Z80 assembly language programming, which is about the most fun you can have with your 'Beast. My cunning plan is to rework all the programs that we've already covered in the preceding BASIC articles, so it's probably a good idea to give those a once-over if you've skipped ahead.
To move forward, I'm going to assume that you've got SLIDE.COM on the B: drive of your 'Beast, and that you have the corresponding PC utility installed somewhere in your PATH on your development PC. Refer to the SLIDE README if you need more help with that.
Set up
First things first: clone the Beast User repository on to your development PC.
We're going to start in the scrolltext/assembler/leds folder.
Background info
Any mug can write BASIC, but if you want to be 1337 you need to write machine code. That was true in the 80s, and it's even truer now!
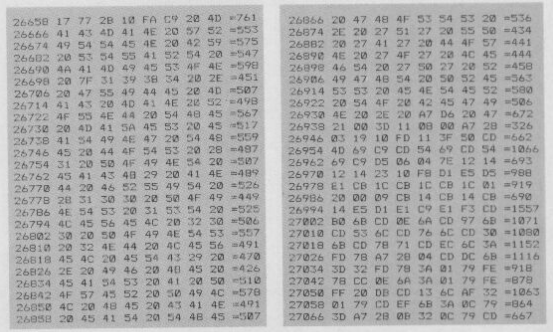
Except we're not actually going to write machine code (which is just baffling screeds of incomprehensible numbers) - we're going to write assembly language, sometimes called "symbolic machine code", which is essentially a set of mnemonics that stand in for the baffling numbers, and which are easier for mere humans to manipulate.
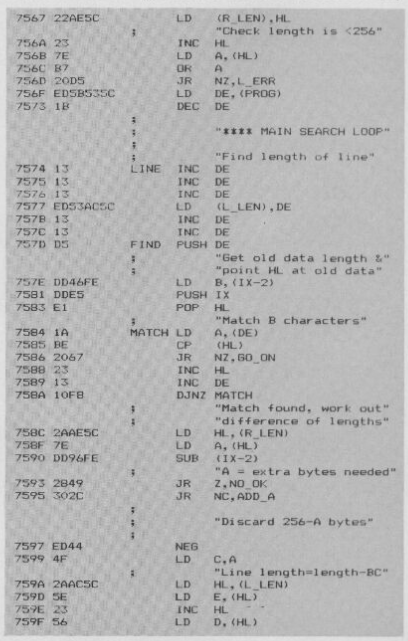
In order to turn human-friendly assembly language into computer-friendly machine code, we use a piece of software called an assembler. These days, there are nearly as many different assemblers as there are z80 instructions (571, in case you were wondering!). They fall broadly into two camps: "native" assemblers are those which run on the same computer/operating system for which the assembly code is being written, and "cross" assemblers run on a different (usually beefier) computer than that for which the assembly code is intended. These days, cross-assembling is the obvious choice, as you get to take full advantage of your PC's massive storage, high-resolution display and integrated development environments with syntax highlighting, code completion, interactive help, AI etc etc.
My personal preference is SJASMPlus because it is fast, has a lot of useful features like structures and macros, and has good integration with modern IDE tools like VSCode. Its documentation is terse, but most queries are tractable given enough study.
Z80: TL;DR
I'm going to give the briefest possible overview of the Z80, as there is a vast amount of introductory material online. In essence, the z80 can load data from memory or an IO device, store data to memory or an IO device, or perform some rudimentary operations such as add and subtract on data. It has some rudimentary relational operators (is this thing bigger than this other thing?) and a good selection of logical operators (AND, OR, XOR). Data either lives in memory, which is large but relatively slow, or it lives in registers, which are scarce but fast. The z80 has 14 general purpose registers, two index registers, and a handful of other special purpose registers. Much of the fun of z80 programming is keeping as much state in these registers as possible without resorting to slow memory accesses. You'll quickly develop an obsession with minimising both the code size of your routines
and their T-state count (getting them to run as efficiently as possible).
Back to BASICs
In Your name in lights! (Part 2) we wrote 4 strange characters to the LED display using a sizeable chunk of BASIC, and now we're going to repeat the exercise in assembly language. Here's the code:
;
; MicroBeast LED Demo - Step 1: Raw Segment Control
; Turn ON all 14 segments of the last 4 LED positions (columns 20-23)
;
; Build: sjasmplus --raw=leds.com leds.asm
; Run:   leds.com under CP/M on MicroBeast
;

            ORG     0x100            ; CP/M .com file starts at 0x100

            INCLUDE "../bios.inc"

; All 14 segments ON = 0x3FFF
; Low byte (L) = FFh = outer segments all on
; High byte (H) = 0x3F = inner/diagonal segments all on

            LD      B, 20          ; start at column 20
loop:
            LD      HL, 0x3FFF      ; all segments ON
            LD      A, B           ; column number
            PUSH    BC             ; preserve B across BIOS call
            CALL    MBB_WRITE_LED  ; write bitmask to LED
            POP     BC

            INC     B              ; next column
            LD      A, B
            CP      24             ; done all 4 columns (20-23)?
            JR      NZ, loop

            ; Exit cleanly to CP/M
            JP      P_TERMCPM
0x prefixes for hex numbers, whereas the modern fashion is lower case mnemonics and an h suffix for hex numbers.Straight away I hope you'll notice how much more concise this code is than the equivalent BASIC program, largely because we don't have to jump through hoops to make BASIC call machine code - we're already in machine code! Nor do we have to worry about BASIC interpreting our data as floating point: in machine code land, everything's a byte or a word.
The ORG 0x100 line isn't an assembly language mnemonic, it's a directive - a special keyword that the assembler itself recognises and acts upon. In this case, we're telling it that we'd like our code to start at address 0x100, which is the standard place for CP/M programs. CP/M calls this part of memory the Transient Program Area or TPA. We stick to running our code in this area lest we overwrite some critical bit of memory that the operating system or firmware is using.
The INCLUDE "../bios.inc" line is another directive that tells the assembler to read the 'bios.inc' file, which contains the addresses of some BIOS routines that we're going to be using across all these examples. I've put them in an include file so that we don't repeat ourselves.
Next we load (LD) the 8-bit B register with the value 20, and start our main loop. The loop loads the value 0x3fff into 16-bit register pair HL, copies B into A and jumps to the BIOS routine with CALL MBB_WRITE_LED, which expects the bitmap in HL and the column number in A.
You'll notice some funny business surrounding the BIOS call; a PUSH BC beforehand, and a POP BC afterwards. What we're doing here is preserving the value of the 16-bit BC register before the call, and restoring it afterwards. We do this because we are reliant on our value in B being maintained, and we don't know what the BIOS does with the B register. In fact the BIOS "clobbers" B, so this bit of defensive coding proves prudent.
Once we've done that we increment B with INC B and check whether it has reached 24 yet (CP - compare). If not, we go around the loop again. Note that we had to copy B into A to do the comparison with 24. This is because the A register ("A" is for "accumulator") is usually the only one that can take part in arithmetic and logical operations, and the CP compare operation is essentially a subtract: if A was 24, the result will be zero and the Zero Flag (Z) will be set. If it wasn't 24, the zero flag will not be set. We can test this in the following jump relative, if not zero (JR NZ) instruction. There are two different ways that A can be not equal to 24: it can be greater than 24, or it can be less than 24. In the latter case, to make the subtraction work we'd have to "borrow" another bit, so the Carry (C) flag is set to indicate that the borrow happened, and we can JP C to jump on carry or JP NC to jump on no carry if we need to. Just remember that for unsigned integers Z is equal (A == n), else C (carry flag set) is less than (A < n), else NC (carry flag not set) is greater than (A > n). Things are a little but fruitier if you're comparing two signed numbers, but that's a wonder for another day.
Once we're finished displaying characters, we JP P_TERMCPM which amounts to the same thing as JP 0x0 or a "jump through zero". This is a common way to exit a custom ("transient") program and return control to CP/M.
RET will return control to CP/M much more quickly. But, if you weren't as careful as you thought you were, it will almost certainly crash!Assembling the code
You can assemble the code manually with sjasmplus --raw=leds.com leds.asm and if all goes well you'll produce a file leds.com that you can run on your 'Beast. That gets tedious quite quickly, so you might like to stick it in a script or Makefile to automate the process.
Running the code
The procedure to run leds.com on the 'Beast is similar to what we've used before, but slightly shorter:
- Boot your 'Beast
- SLIDE the
LEDS.COMfile from the repo across to your 'Beast's B drive - while still logged-in to the
Bdrive, typeLEDSand hit enter
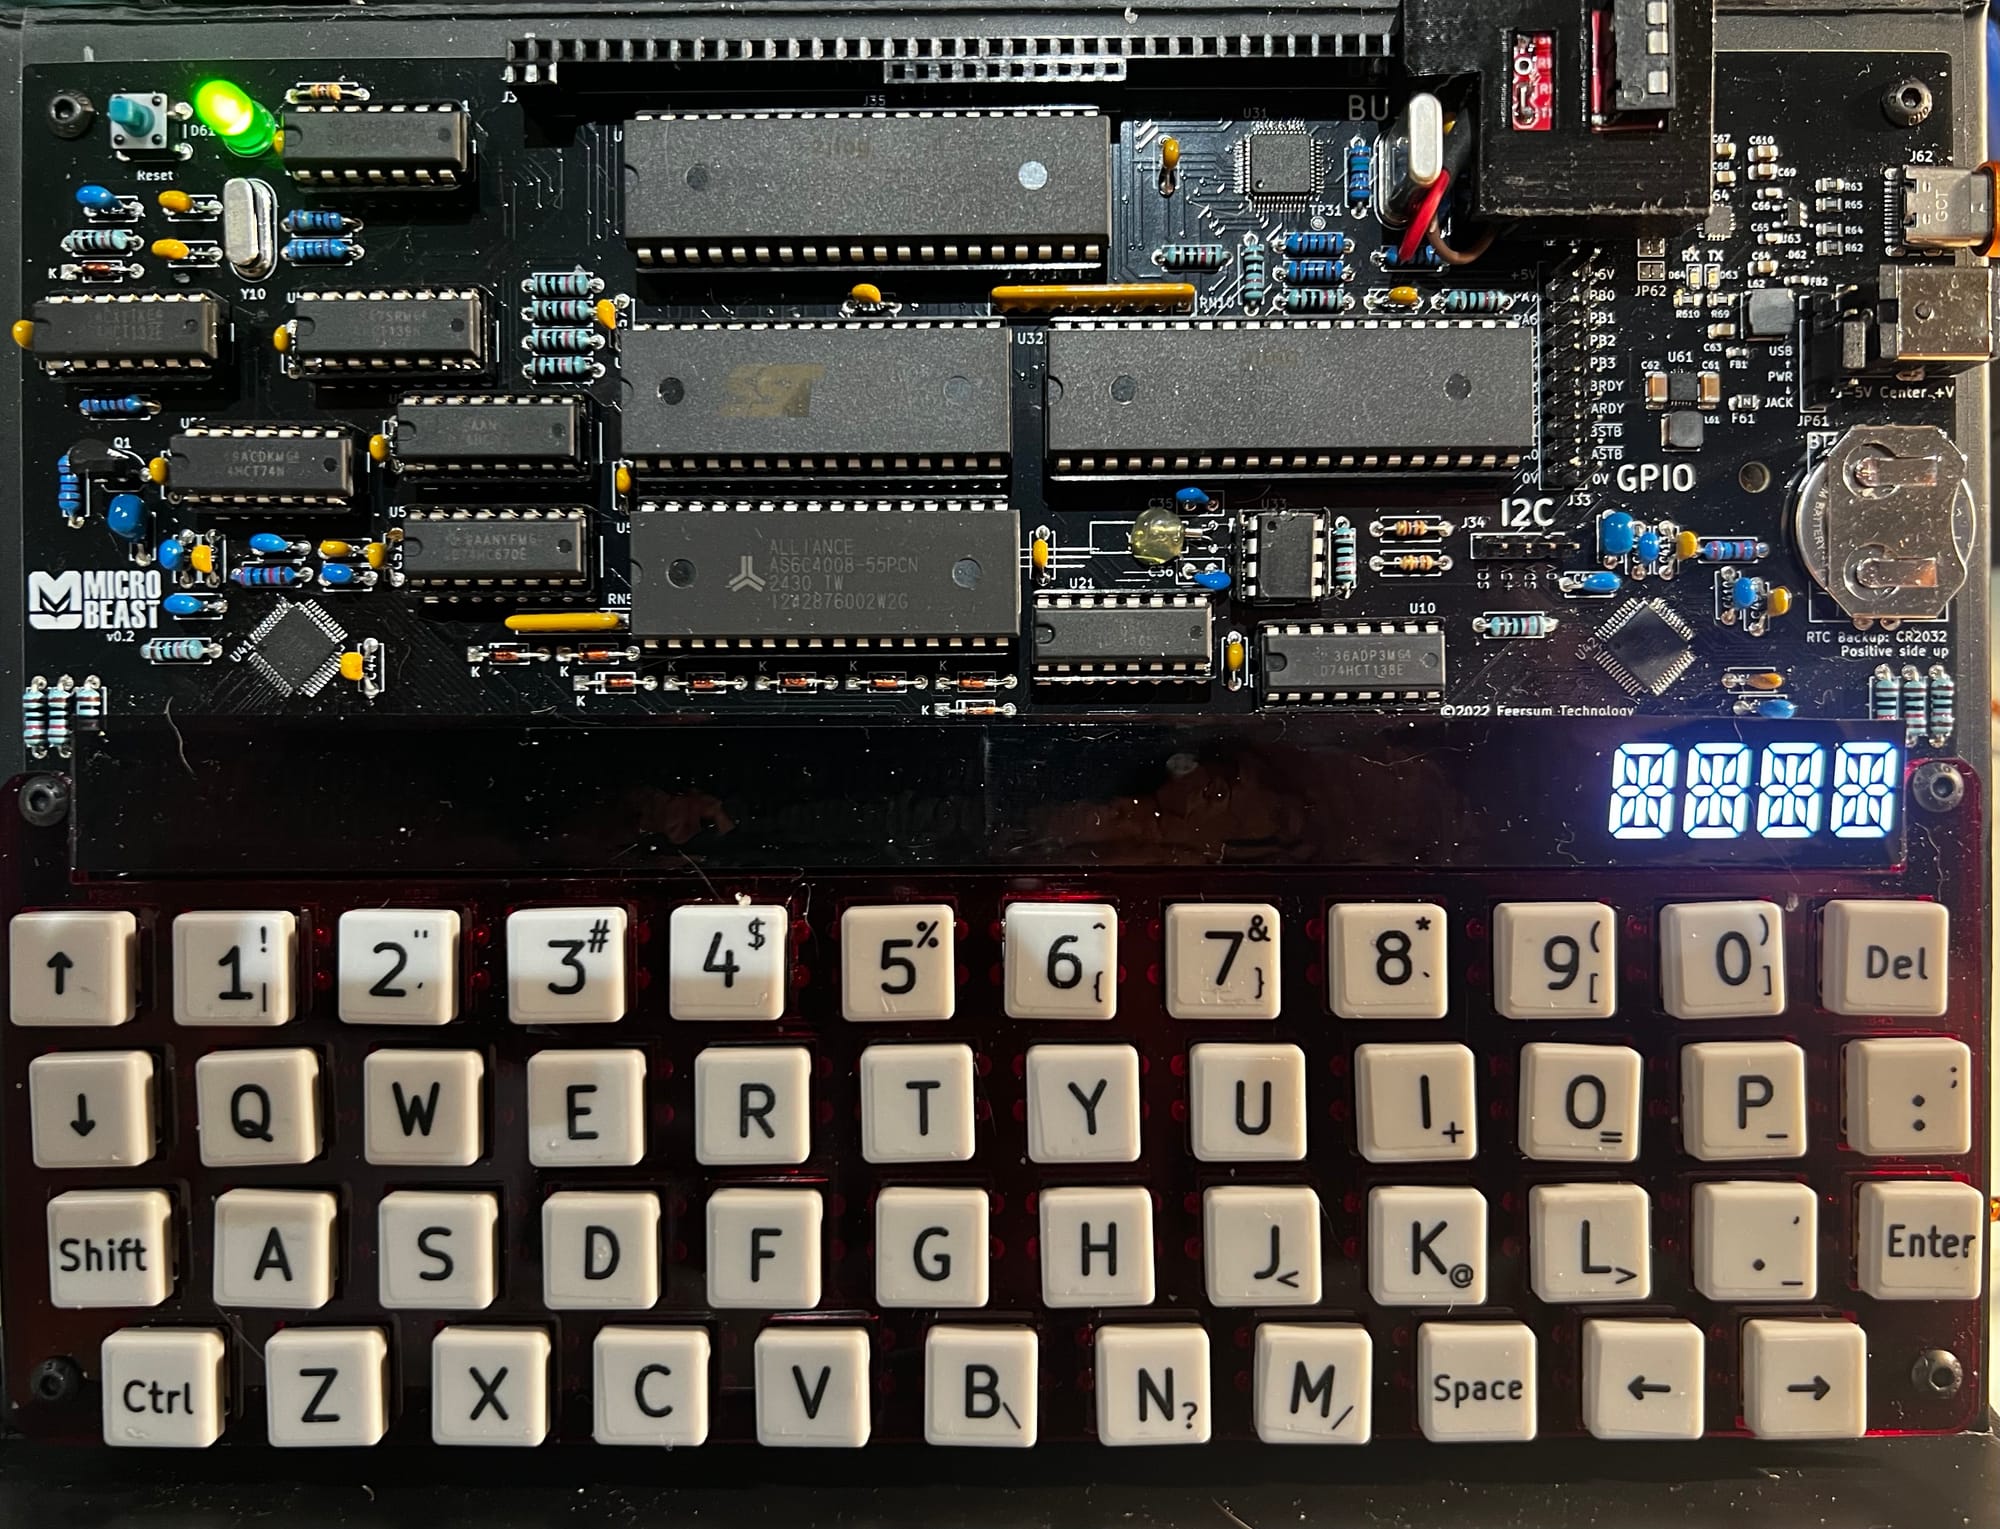
All being well, you should see this (your string might be different):
Things you can try
- Change the bitmap to some other symbol of your choosing
- Try writing to all the columns instead of just the last four
- Suppress the rising suspicion that I copied this section verbatim from the BASIC article
Useful references
There are so many z80 references on the internet that it's difficult to know where to start. I usually have these open:
- SJASMPlus reference
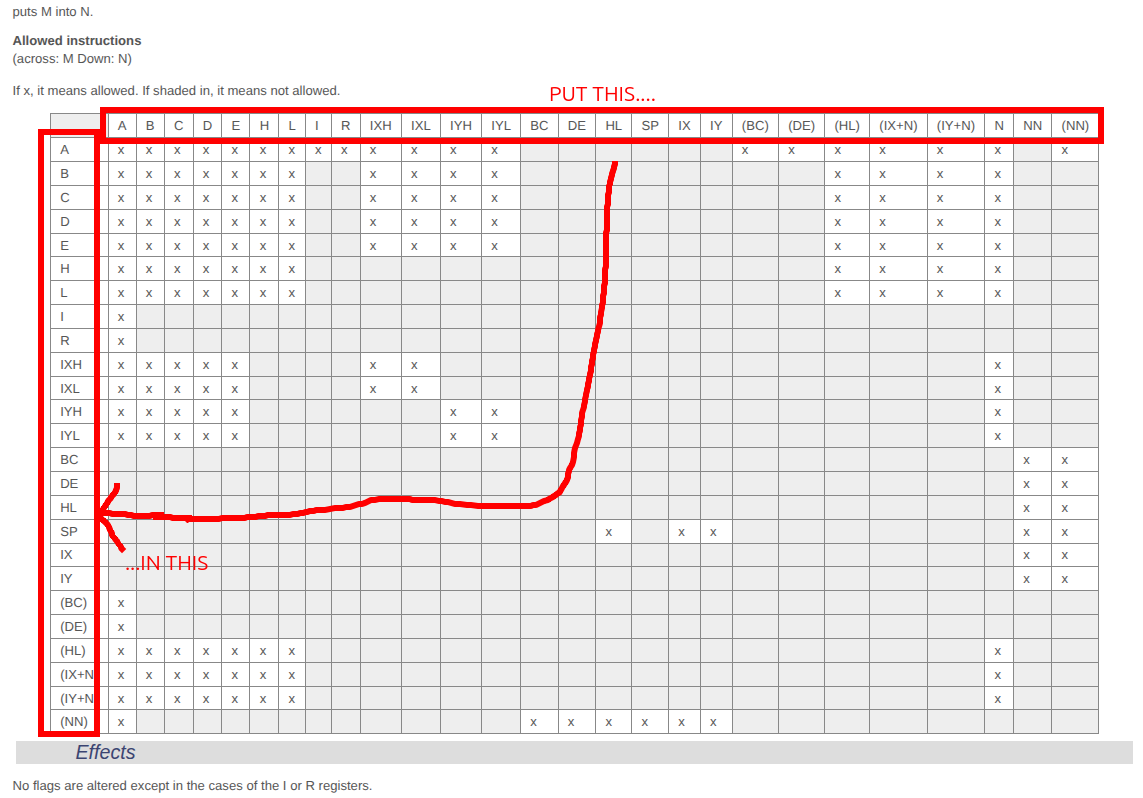
- z80Heaven instruction set summary - the
LDpage is usually my default, and perhaps this image might help you make the most of it:
I've also got a copy of "Programming the Z80" by Rodney Zaks to hand - there are loads of copies floating about and you can pick up a copy in decent condition for very little. It's great for checking status flag side effects of opcodes.
A lot of people swear by "z80 Assembly Language Programming" by Lance A. Leventhal - I've not been able to find an affordable copy, I fear it may have achieved "collector" status!
Speaking of which, when I first learned z80 it was from "Mastering machine code on your ZX Spectrum" by 80s scene legend Toni Baker. It's equally relevant to the 'Beast and will give you a solid foundation. Print copies are a bit hard to come by these days, but there are scans of the book online.
I'm not normally a VSCode fan (neovim FTW!) but it has excellent support for z80 development:
- z80 Macro assemblers - documentation, completion, formatting etc
- z80 Assembly Meter - select some code and see its byte count and T-state count in the status bar
- vscode-neovim - make VSCode slightly more bearable ;)
End of Part Seven
That's it for Part Seven and our gentle introduction to machine code and assembly language.
Next time in Your name in lights! (Part 8) we'll look at font decoding and displaying arbitrary strings on the display.